Educational videos from the FIFA Medical Network (@FIFAMedical): Rehabilitation exercises for common football injuries
The first collection of videos demonstrate how to do some rehabilitation exercises for common football injuries. It is a great idea to see your physiotherapist as soon as you have an injury. They can diagnose what has happened, refer you for investigations or to specialists if necessary and give you great advice on what to do in the acute phase of the injury to help you get back to what you love doing.
Early rehab can be important with knee injuries. Watch the following video for examples of simple exercises that can be introduced when safe to do so, under the P.O.L.I.C.E. principle. #FootballNetwork #FIFADiploma pic.twitter.com/IVQXYnsxN8
— FIFA Medical Network (@FIFAMedical) June 29, 2020
The Muncie Straight Leg Raise is an exercise that helps to strengthen the quadriceps muscle and can be done safely quite early after an injury.
The Muncie exercise might be worth adding to your management plan for players with patellofemoral pain. It started life as a placebo treatment! #FootballNetwork #FIFADiploma pic.twitter.com/sLRChypUkH
— FIFA Medical Network (@FIFAMedical) April 6, 2020
Hamstring injuries are one of the most common injuries in football. Confirming the severity and location of the injury can help with prediction for return to sport.
Are there any clinical examination findings that correlate with recover following a #hamstring injury? See what the @Aspetar #FMCE has found useful. #FootballNetwork #FIFADiploma pic.twitter.com/1TPwf1TZKv
— FIFA Medical Network (@FIFAMedical) July 6, 2020
Eccentric exercises targeting the hamstring muscles have been shown to significantly reduce the risk of sustaining a hamstring injury, but have also shown to reduce the risk of re-injuring you hamstring. Doing the exercises regularly increases the chance of them being effective.
Did you know that Nordic hamstring exercises can reduce the risk of sustaining a hamstring injury by 65%? Click here to see how it’s done. #FootballNetwork #FIFADiploma pic.twitter.com/fPaP8XUPeb
— FIFA Medical Network (@FIFAMedical) February 10, 2020
Patallae tendinopathy can cause pain in the anterior aspect of the knee, and often affect players who are more dynamic and can jump higher than their peers. As with most tendinopathies it is caused when the tendon is exposed to more load than it has capacity to cope with. Using a decline board helps to load the patallae tendon.
Eccentric exercises have been the mainstay of tendon rehabilitation for a decade. Do you know how to perform these? Check out this clip to see how they’re done. #FootballNetwork #FIFADiploma pic.twitter.com/XWQI70qUEY
— FIFA Medical Network (@FIFAMedical) September 7, 2020
Managing Achilles tendinopathies can be frustrating for players as it can be difficult to get the balance of how much loading activities like running and jumping the tendon can tolerate before it gets aggravated. Isometric exercises can be used as a way of loading the tendon early in the rehabilitation process or during the season when the player has a high playing load.
Isometric exercises may provide good pain relief and improve function for many players with tendinopathy. Do you know how to do them? #FootballNetwork #FIFADiploma pic.twitter.com/sbMSaxouJK
— FIFA Medical Network (@FIFAMedical) April 13, 2020
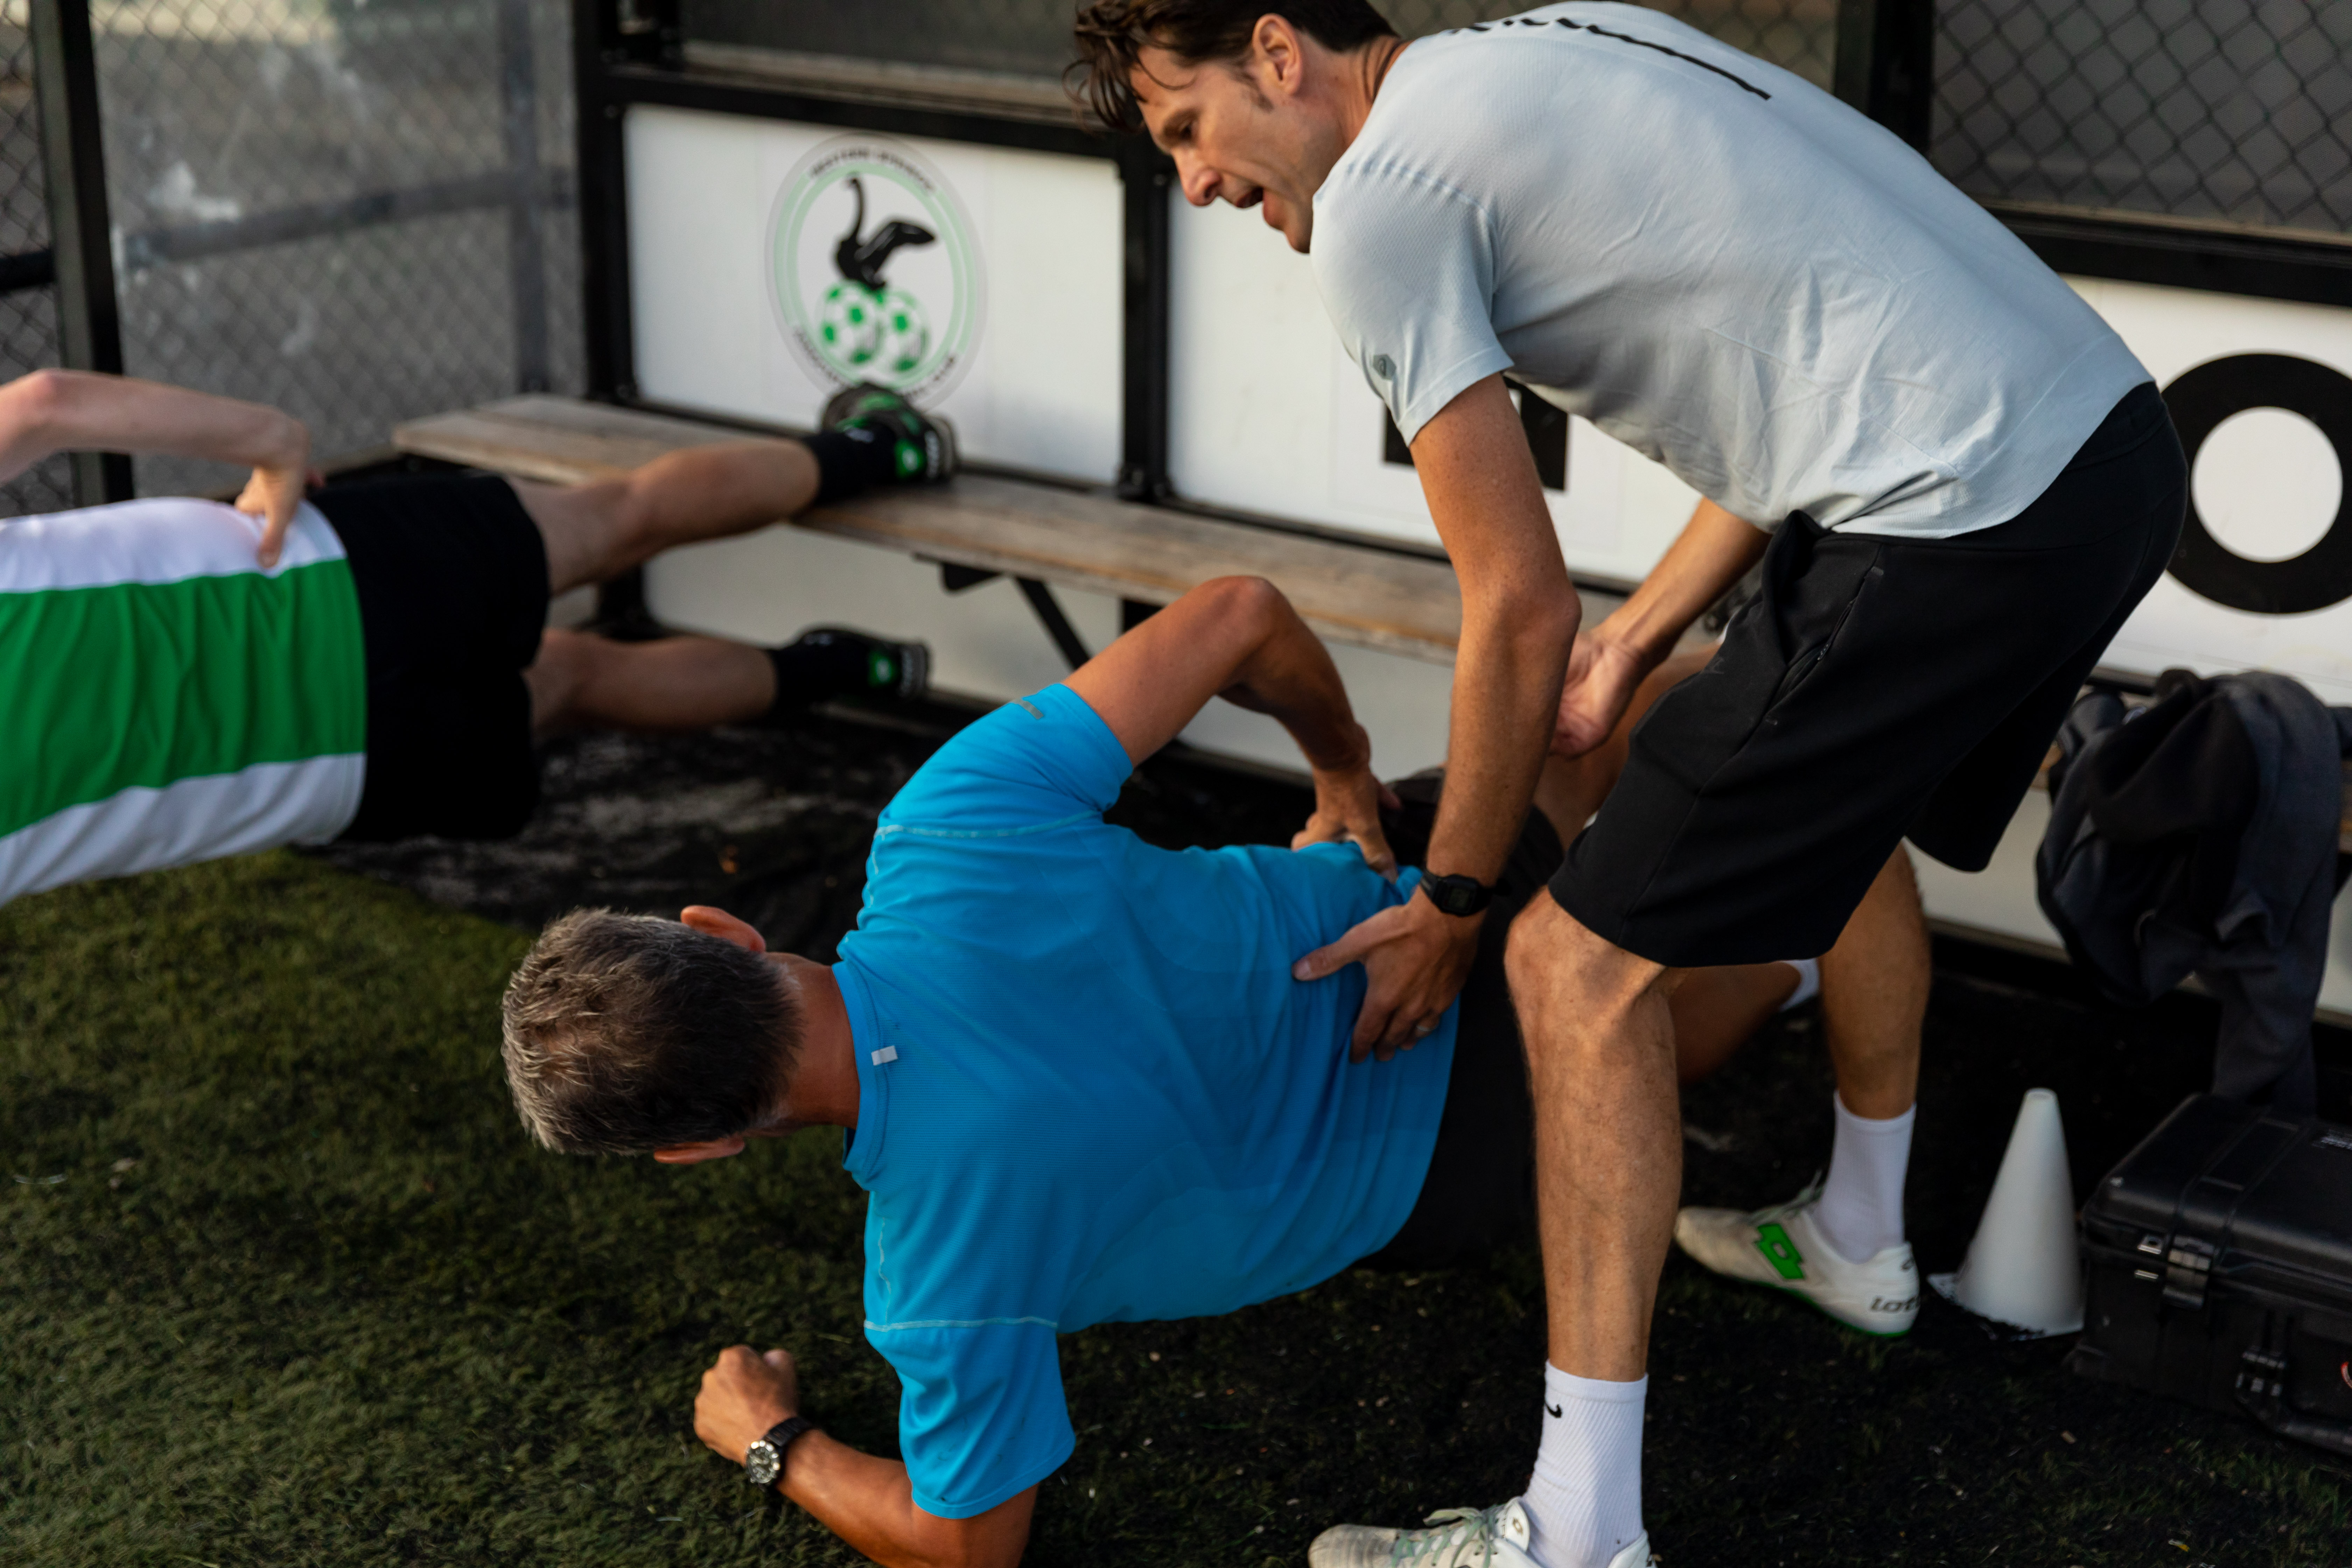
Groin injuries can be frustrating for players and therapists. You can prevent groin injuries by doing the Copenhagen Adductor Exercise regularly.
When done regularly the Copenhagen adductor exercise can reduce the risk of developing groin pain by 40%. This video shows how the three progressions are done. #FootballNetwork #FIFADiploma
See the original paper from the @BJSM_BMJ to learn more: https://t.co/v6SclZeEz4 pic.twitter.com/9Z6NCVExMY— FIFA Medical Network (@FIFAMedical) January 20, 2020
If you have had a long-standing groin injury, then the 10-week Holmich Protocol has been proven to be effective as a treatment. It was first described in 1999 by Per Holmich in The Lancet (Hölmich et al., 1999) but is still one of the most validated programmes for footballers who have chronic adductor-related groin pain. There are two phases to the protocol, and they include exercises to build strength in the hip adductors, abdominals, glute’s and lower back.
The first phase of the @PerHolmich protocol can be used to help manage a player with adductor-related groin pain. Do you know how to initiate this rehabilitation programme? #FootballNetwork #FIFADiploma pic.twitter.com/lVCDKYdGl1
— FIFA Medical Network (@FIFAMedical) December 16, 2019
The second phase of the Holmich protocol is used to progress a player’s strength and improve function. Do you know what it involves? Have a look at this clip to see. #FootballNetwork #FIFADiploma pic.twitter.com/S68h3p2lFJ
— FIFA Medical Network (@FIFAMedical) December 23, 2019
Recently the programme was validated by (Yousefzadeh, Shadmehr, Olyaei, Naseri, & Khazaeipour, 2018) who found that the Holmich programme may be an effective treatment for long-standing adductor-related groin pain (LSAGP). However, they suggested more emphasis should be paid to the hip adductor muscles’ eccentric strength and have modified the programme to make it more effective. One of the exercises they included in their programme is the Copenhagen adductor exercise. The Copenhagen adductor exercise can reduce the risk of getting adductor injuries and should be done regularly to maximise the effect. Our Premier Football teams use the Copenhagen adductor exercise as well as the FIFA 11+ warm-up exercises to help reduce the risk of injury during the season.
When done regularly the Copenhagen adductor exercise can reduce the risk of developing groin pain by 40%. This video shows how the three progressions are done. #FootballNetwork #FIFADiploma
See the original paper from the @BJSM_BMJ to learn more: https://t.co/v6SclZeEz4 pic.twitter.com/9Z6NCVExMY
— FIFA Medical Network (@FIFAMedical) January 20, 2020
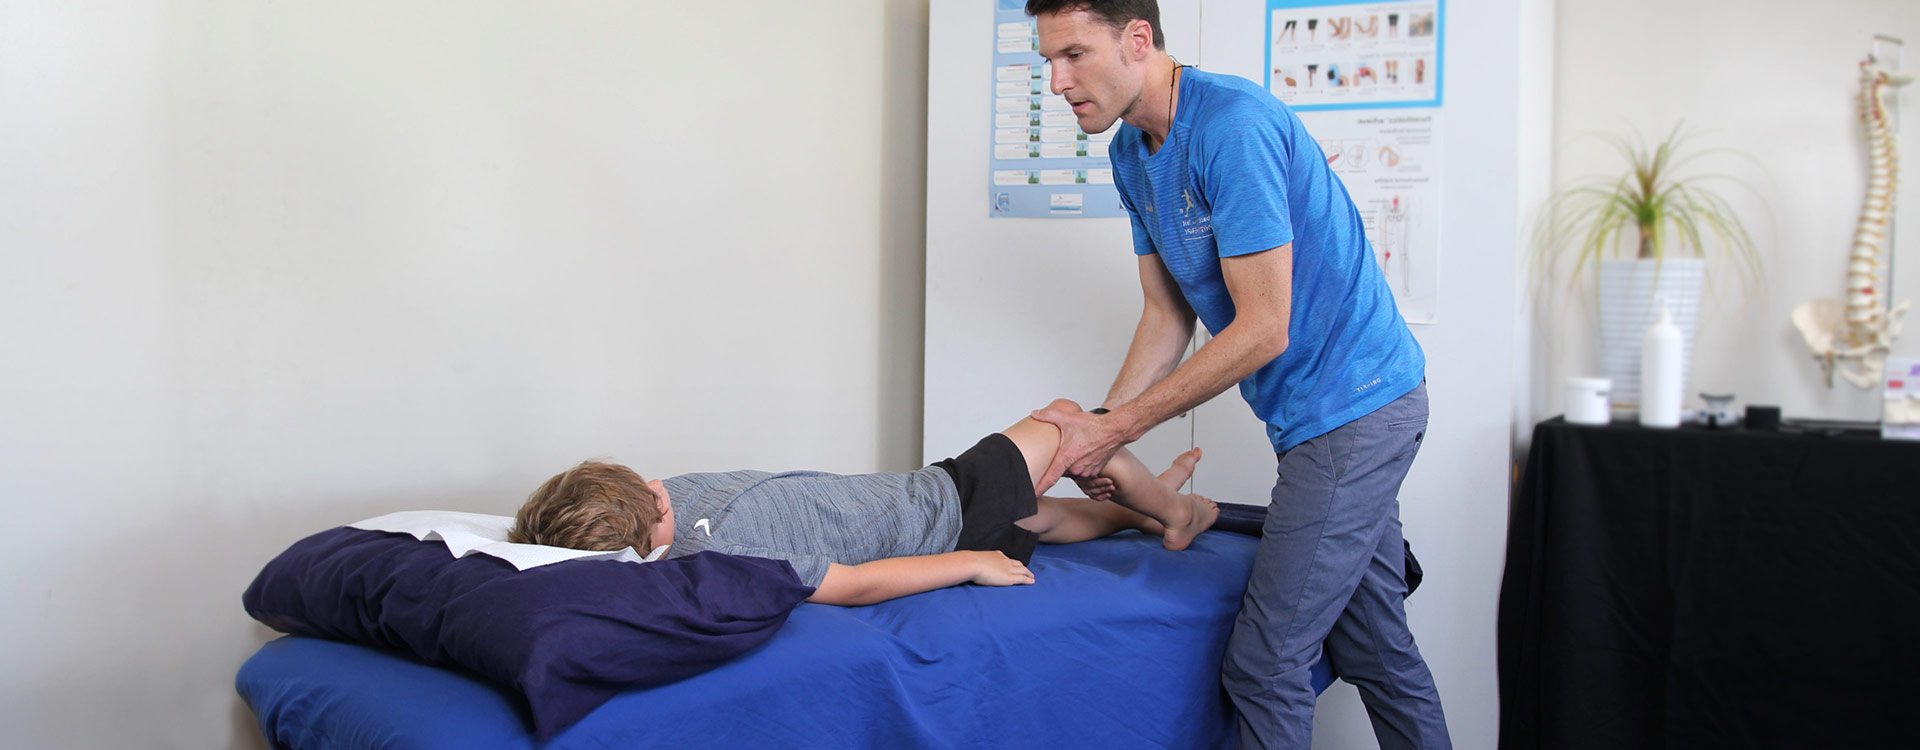
Groin pain does not just affect footballers. If you have had an adductor injury, or have groin pain that is restricting your ability to play football or achieve your calls then we would love to hear from you. Make an appointment and we can hep prescribe the best way to help you return to your sport.
References:
Hölmich, P., Uhrskou, P., Ulnits, L., Kanstrup, I.-L., Nielsen, M. B., Bjerg, A. M., & Krogsgaard, K. (1999). Effectiveness of active physical training as treatment for long-standing adductor-related groin pain in athletes: randomised trial. The Lancet, 353(9151), 439-443.
Yousefzadeh, A., Shadmehr, A., Olyaei, G. R., Naseri, N., & Khazaeipour, Z. (2018). Effect of Holmich protocol exercise therapy on long-standing adductor-related groin pain in athletes: an objective evaluation. BMJ Open Sport & Exercise Medicine, 4(1), e000343. https://doi.org/10.1136/bmjsem-2018-000343
Comprehensive rehabilitation after ankle sprains are important to reduce the risk of re-injury.
Ankle proprioception and peroneal strength exercises are critical components of a successful rehabilitation programme after a #ankle sprain. Watch this video to see how they’re done. #FootballNetwork #FIFADiploma pic.twitter.com/SKoYeMewFJ
— FIFA Medical Network (@FIFAMedical) March 30, 2020
Adding in perturbation drills helps to reduce injury risk.
Do you use perturbation training to help prepare your injured players for return to football? Watch this clip to learn more about the value of these type of exercises. #FootballNetwork #FIFADiploma pic.twitter.com/PuxbV3LqZw
— FIFA Medical Network (@FIFAMedical) May 4, 2020